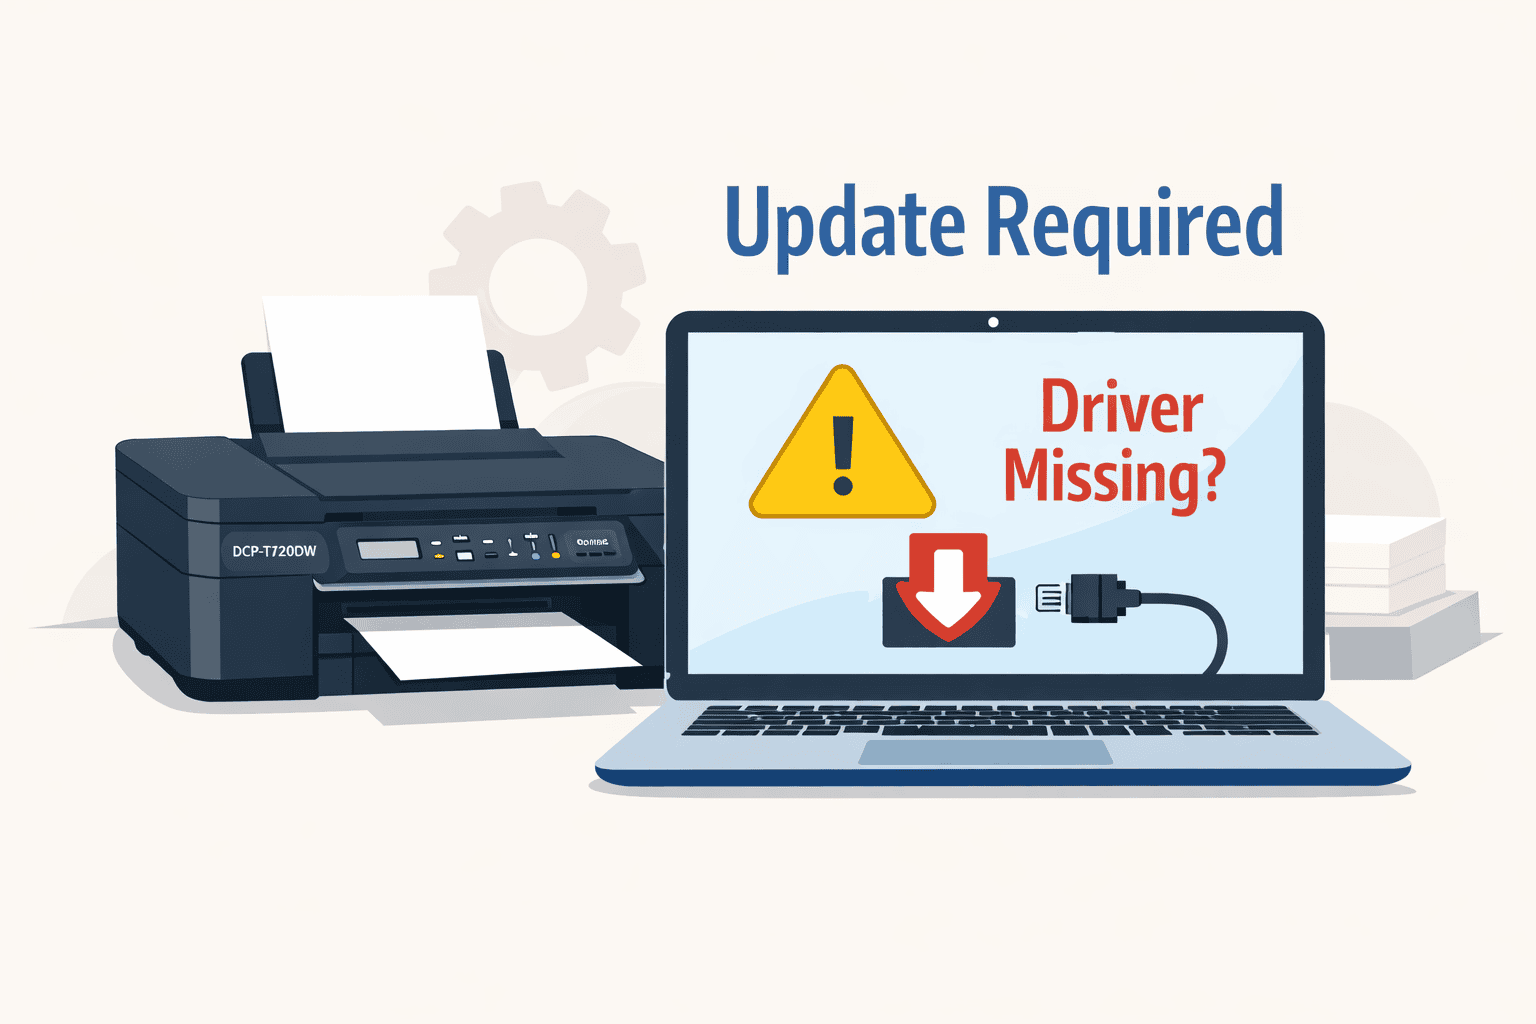
Fixing Print Quality Errors on Brother DCP-T720DW After Updates
Printing problems can be frustrating, especially when your Brother DCP-T720DW Inkjet All-in-One was working fine before and suddenly starts acting up after a system update. You might see faded text, streaks on the page, missing colors, or the printer may not respond at all. For many everyday Windows users, the cause is not obvious. In many cases, the issue is related to the small but important software that helps your computer and printer talk to each other.
This guide is written in plain language for non technical users. It explains why these problems happen and shows simple ways to fix them. You will also learn the fastest and easiest option first, followed by two manual methods using tools already available on your computer or from the printer maker.
Why printing problems often appear after updates
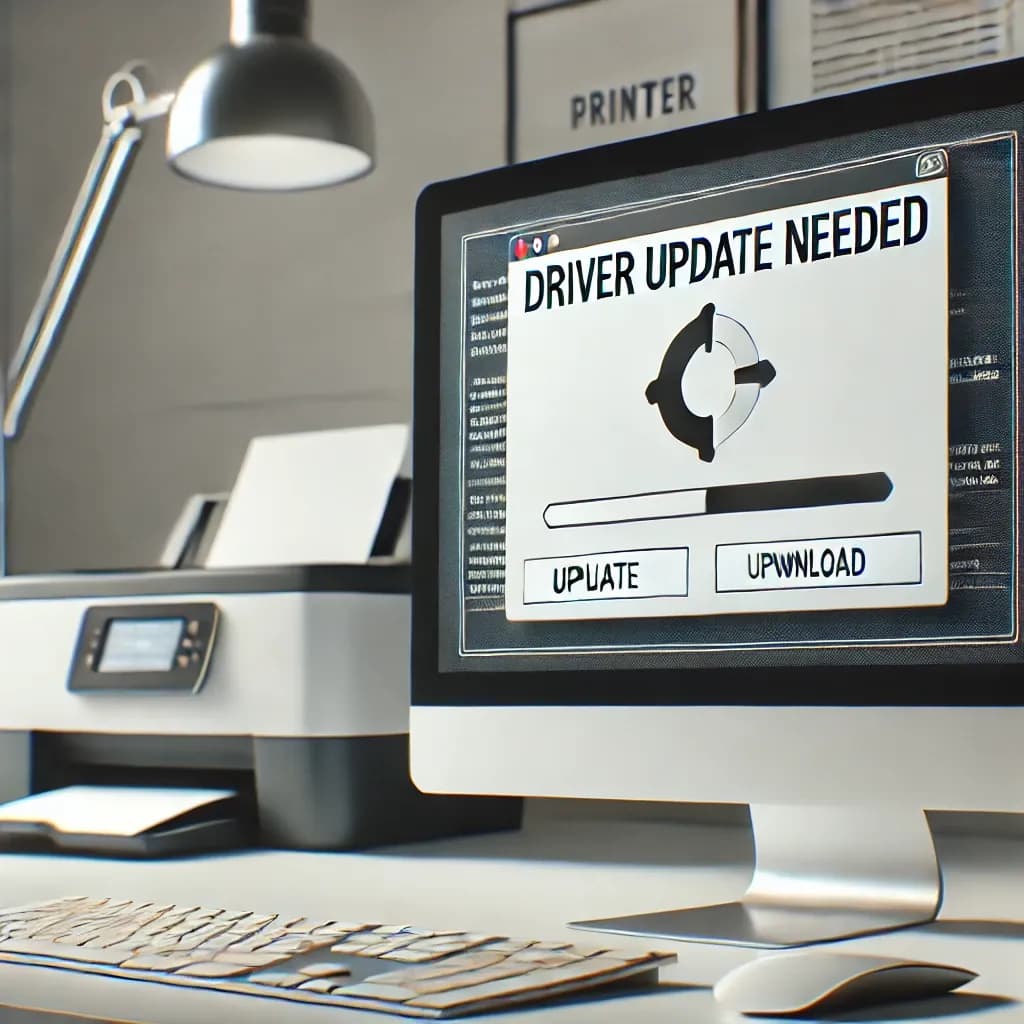
Your computer uses a special piece of software to understand how to send jobs to your Brother DCP-T720DW. This software tells the printer what to print, how much ink to use, and how to place text and images on the page. When Windows updates or when the printer software is missing or damaged, the communication can break down.
Here are some common signs that this software needs attention:
• Printer shows as connected but will not print
• Pages come out blank or half printed
• Colors look wrong or text is blurry
• Printer takes a long time to respond
• Error messages appear for no clear reason
Windows updates can replace system files or change settings. When that happens, older printer software may no longer match what Windows expects. The result is confusing print quality issues or a printer that simply refuses to work.
The easiest and fastest fix for most users
For many people, the simplest solution is to use an automatic helper tool that checks your system and updates the needed printer software for you. This avoids searching websites, choosing the right files, and installing them by hand.
Using DriverAssist for a quick fix
DriverAssist is designed for everyday users who want a simple and guided way to fix printer problems. It scans your computer, finds outdated or missing printer software, and helps you update it with minimal effort.
Why this option works well
• No technical steps required
• Saves time and guesswork
• Helps avoid installing the wrong file
• Suitable for beginners
How to get started
- Open your web browser.
- Go to this direct download link.
- Download and install the tool.
- Run the scan and follow the on screen steps to update the software for your Brother DCP-T720DW.
After the update is complete, restart your computer and try printing again. Many users see their print quality return to normal right away.
Manual method one: Updating through the Brother support website
Some users prefer to update things manually. This method uses files provided directly by Brother and works well if you follow each step carefully.
Step by step guide
- Open your web browser and go to the official Brother support website.
- Search for your printer model, Brother DCP-T720DW.
- Choose your Windows version from the list.
- Look for the printer software or full software package.
- Download the file to your computer.
- Once downloaded, double click the file to start the installation.
- Follow the on screen instructions until the process finishes.
After installation, restart your computer. This ensures Windows fully recognizes the updated software.
Common mistakes to avoid
• Selecting the wrong Windows version
• Interrupting the installation
• Skipping the restart step
Taking your time with each step helps prevent new issues.
Manual method two: Using the Windows Device Manager
Windows includes a built in tool called Device Manager. It allows you to update hardware related software directly from the system.
How to use Device Manager
- Click the Start menu.
- Type Device Manager and open it.
- Find Printers or Print queues in the list.
- Right click on Brother DCP-T720DW.
- Select Update.
- Choose the option to search automatically for updates.
Windows will look for a newer version and install it if available. When finished, restart your computer.
Limitations of this method
Device Manager may not always find the newest file. It works best for basic updates but may not resolve more stubborn print quality problems. If issues continue, the automatic tool or the manufacturer website method is usually more reliable.
What to do after updating
Once the update is complete, take a few minutes to check your printer.
• Print a test page
• Check color and text clarity
• Try printing from the program that caused problems before
If the output looks normal again, the issue has likely been fixed. If problems remain, repeat the update steps or consider using the automatic tool for a more complete check.
Extra tips for keeping your printer working smoothly
• Restart your printer and computer regularly
• Avoid unplugging the printer during updates
• Keep Windows updates enabled
• Use the same USB or network connection consistently
These simple habits reduce the chance of communication errors between your computer and printer.
Why plain language fixes matter
Many guides use technical terms that confuse everyday users. In reality, most printing problems come down to your computer and printer not understanding each other anymore. Updating the software that connects them restores that understanding. You do not need advanced skills to fix it, just clear steps and the right tools.
Final thoughts
Print quality issues with the Brother DCP-T720DW Inkjet All-in-One can feel overwhelming, especially after system updates. The good news is that the fix is often straightforward. Starting with an automatic helper like DriverAssist saves time and reduces frustration. Manual options are also available for users who prefer hands on control. With the steps in this guide, you can get back to clear, reliable printing without unnecessary stress.